As the cooler season nears, it’s time to brush up on the art of packing your cooler like a seasoned pro. Last year, we shared tips on how to pack your cooler to keep your drinks refreshingly cold and your perishables safely chilled (read here). Now, armed with additional tricks of the trade, we present this enhanced guide to preparing your cooler for unforgettable outdoor adventures.
Choose a Cooler Just Right for You
- Size Matters…A Lot. The rule of thumb for optimal cooling is a ratio of two-thirds ice to one-third consumables. The exception to this is that frozen drinks, even frozen food, can serve double-duty by also acting to enhance the cold inside your cooler. If the cooler is too small, you won’t have enough space to fill it up with the appropriate amount of ice; if it’s too big, you may have a hard time filling up all the space with extra ice, and the air pockets will speed up warming. Spend some time visualizing your needs to ensure that you pick a cooler that meets your size requirements.
- Embrace Technology. If your cooler is fairly old, you may benefit by upgrading to a newer model that has enhanced insulation and air-tight closures. Modern coolers can keep contents chilled for multiple days, making them indispensable for extended journeys.
- Two Coolers are (Sometimes) Better than One. If you decide to upgrade, before tossing out the older cooler, consider utilizing it as a secondary cooler for drinks and snacks that you’ll be accessing frequently. This way, your main cooler won’t be losing its chill as quickly as it would if you were making these frequent retrievals.
- Hard or Soft Sided Coolers? If you’ve decided to invest in a new cooler, think about which type will best meet your needs.
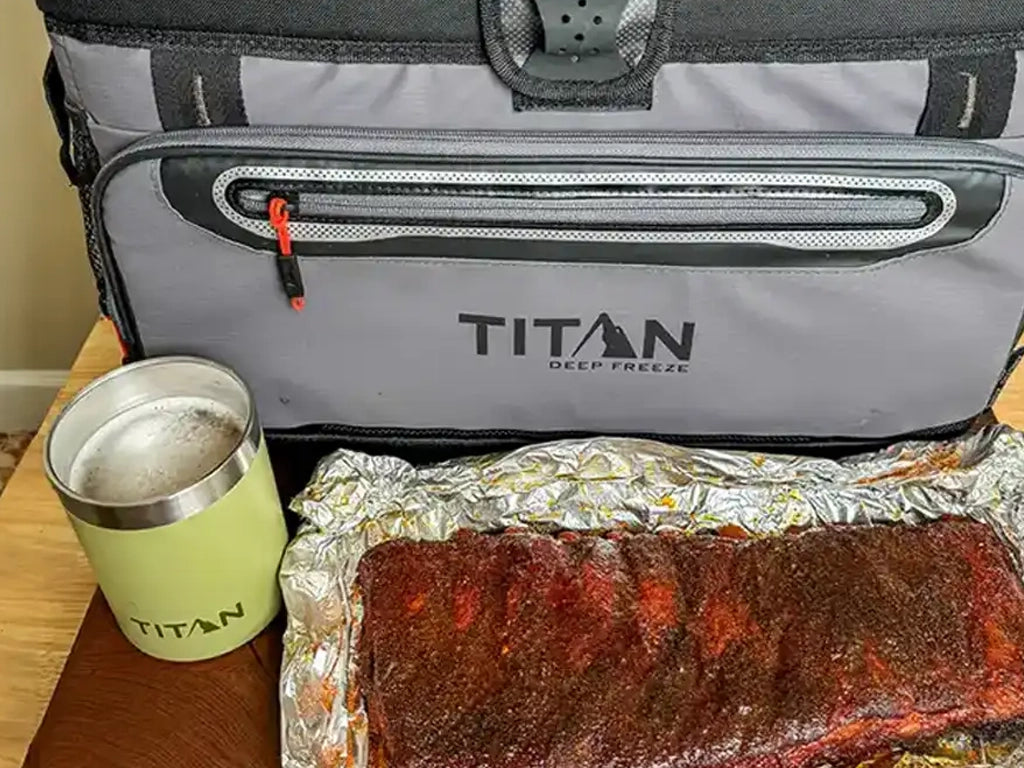
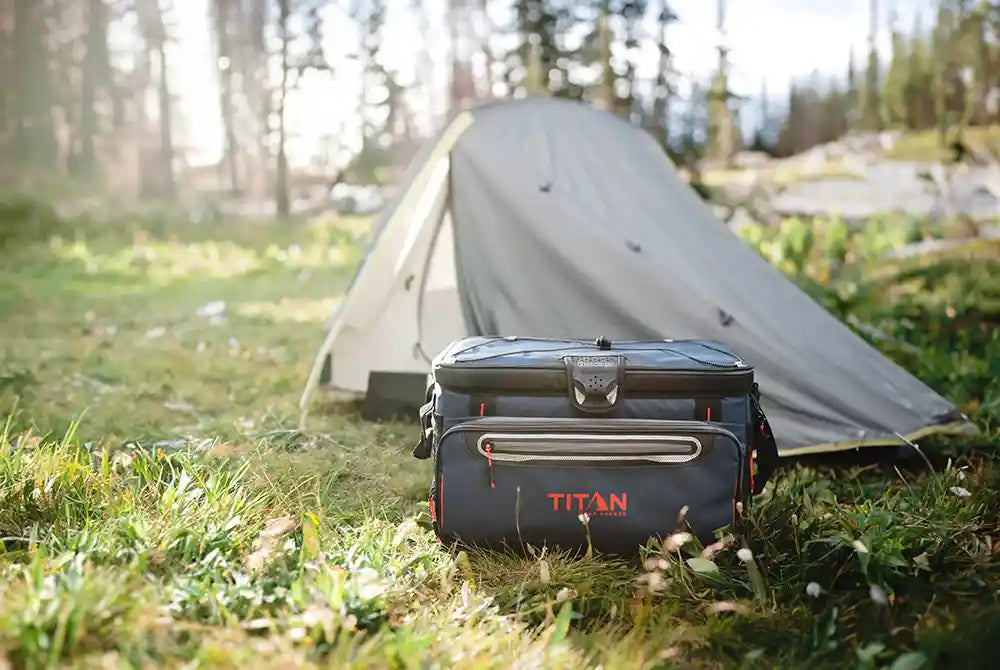
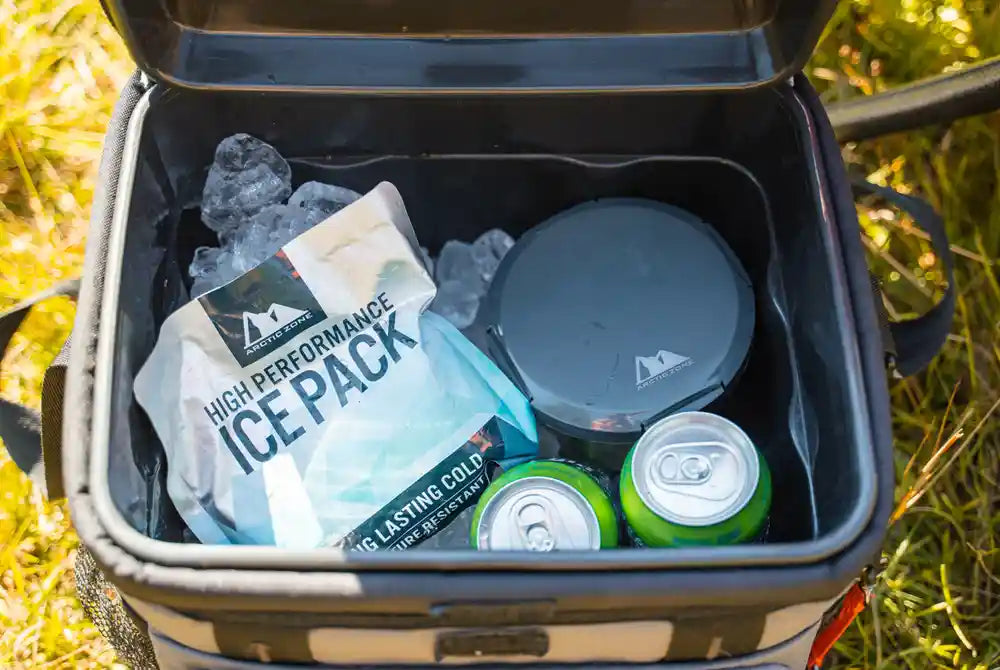
- Soft Coolers are made of fabrics like nylon, polyester, and vinyl. Soft coolers are lightweight, designed for portability and easy storage. Most keep ice for one to two days, but some offer three or more days of ice retention.
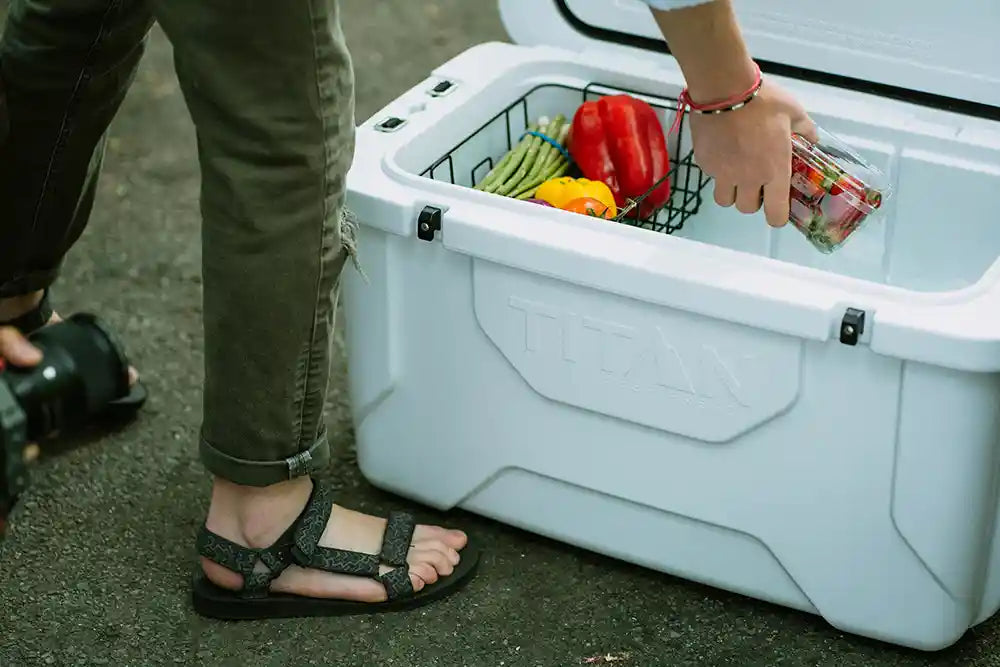
- Hard Coolers, made of plastic, are capable of holding larger capacities and often have longer ice retention – some promising a week or more. These ice chests are more durable, less portable, and generally more expensive. They work very well if your destination is a camp or fishing site where the cooler will be stationary. Hard coolers are designed to resist the elements and can even be used as a place to sit.
Equip Your Cooler with the Best Gear
These items will help your cooler stay chilled and make it easy to use.
- Several Types of Ice: There are several types of ice you can use in your cooler, and you’ll benefit most by using more than one. For example:
- Block Ice: As it is bigger and thicker than ice cubes, block ice won’t melt as fast. It can be made at home by freezing water a day or two before the trip in reusable containers or in baking dishes. If you can, make the blocks the same dimension as the bottom of your cooler and up to two inches thick.
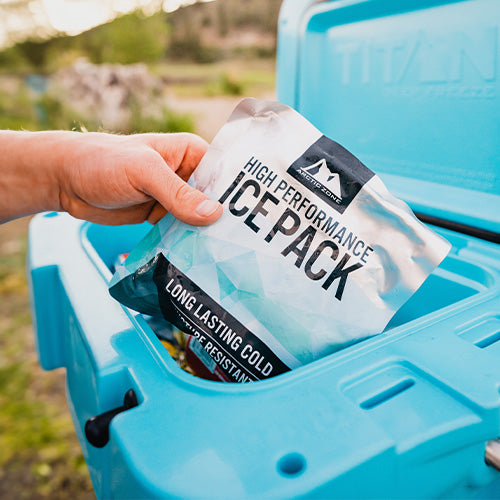
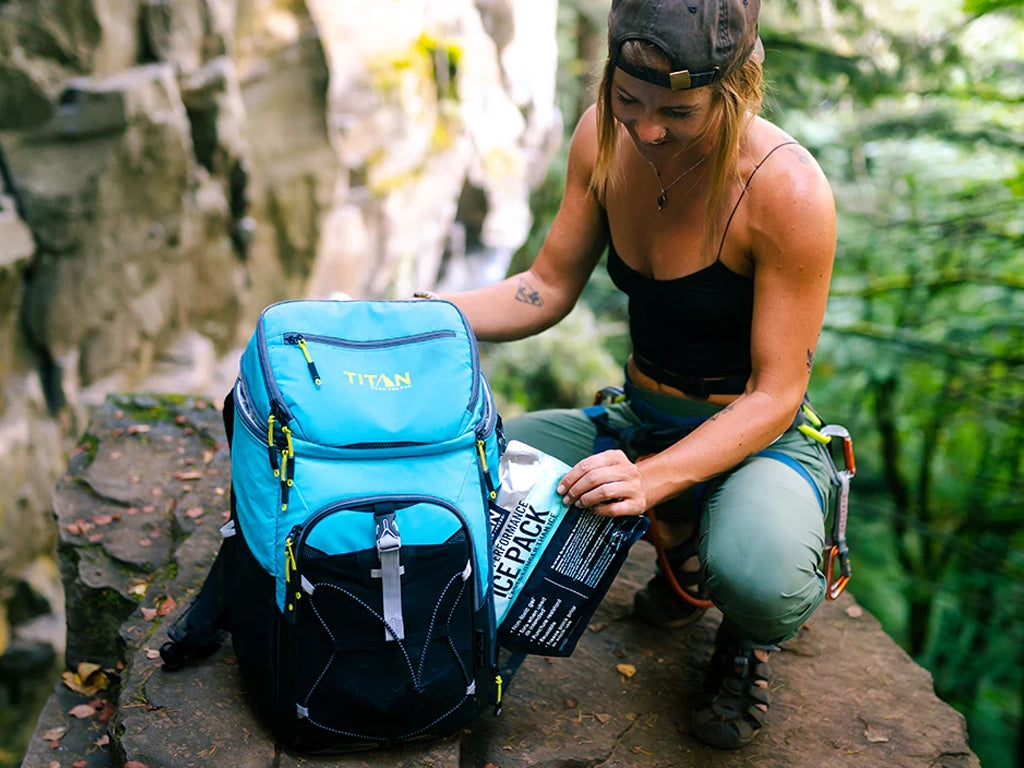
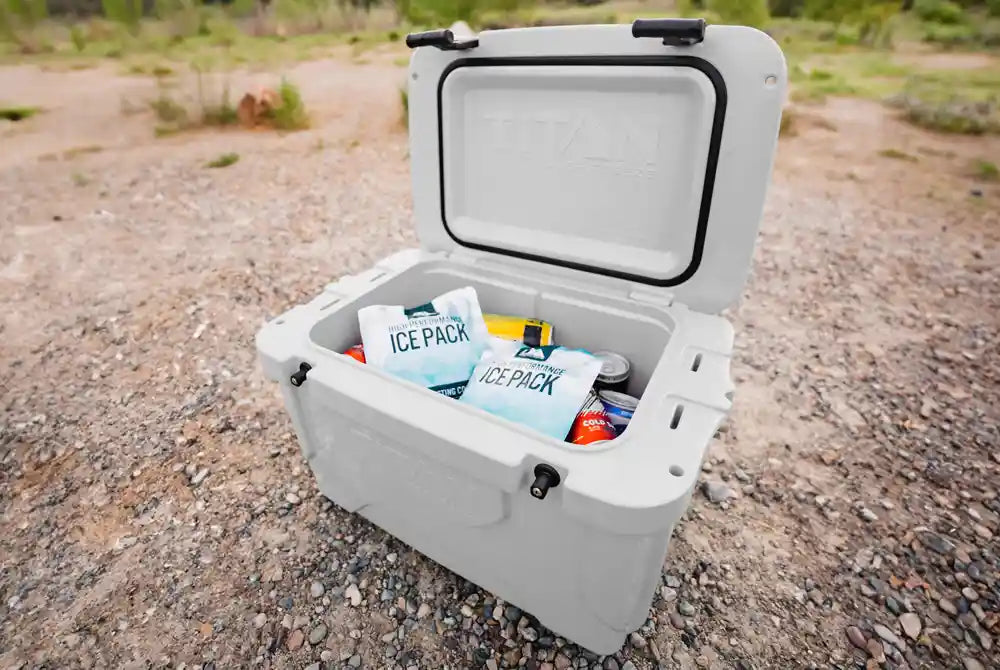
- Reusable Ice Packs: These last longer than ice and won’t get food wet and soggy the way melted ice will. They are also food safe. They can be purchased as hard packs and used in place of block ice, but you’ll also need soft ice packs if you want to fit them around food inside the cooler.
- Freezer Sheet: This “blanket” is placed on top of all the packed food and drinks to help block the warm air from traveling down into the cooler when its opened. The sheet’s dimension should match the internal dimensions of your cooler, or you can use more than one sheet to achieve the right size.
- Cubed or crushed ice: Both are ideal for filling in the gaps between food containers and drinks. They can be made at home or bought at the store – note that store bought ice from a commercial freezer is colder than ice made at home.
- Plastic Water or Non-Carbonated Drink Bottles: These can double as ice, but make sure to use thick plastic bottles as thinner bottles may break when the liquid contents expand as they freeze.
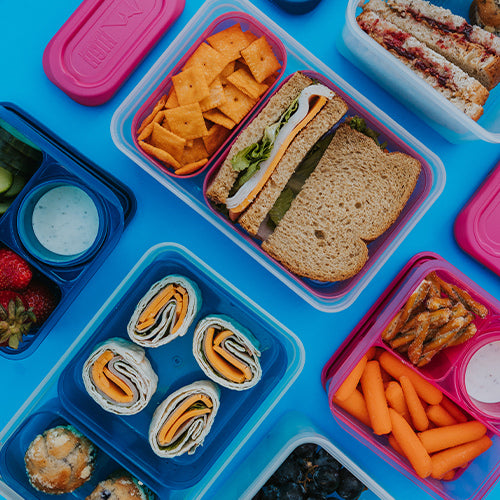
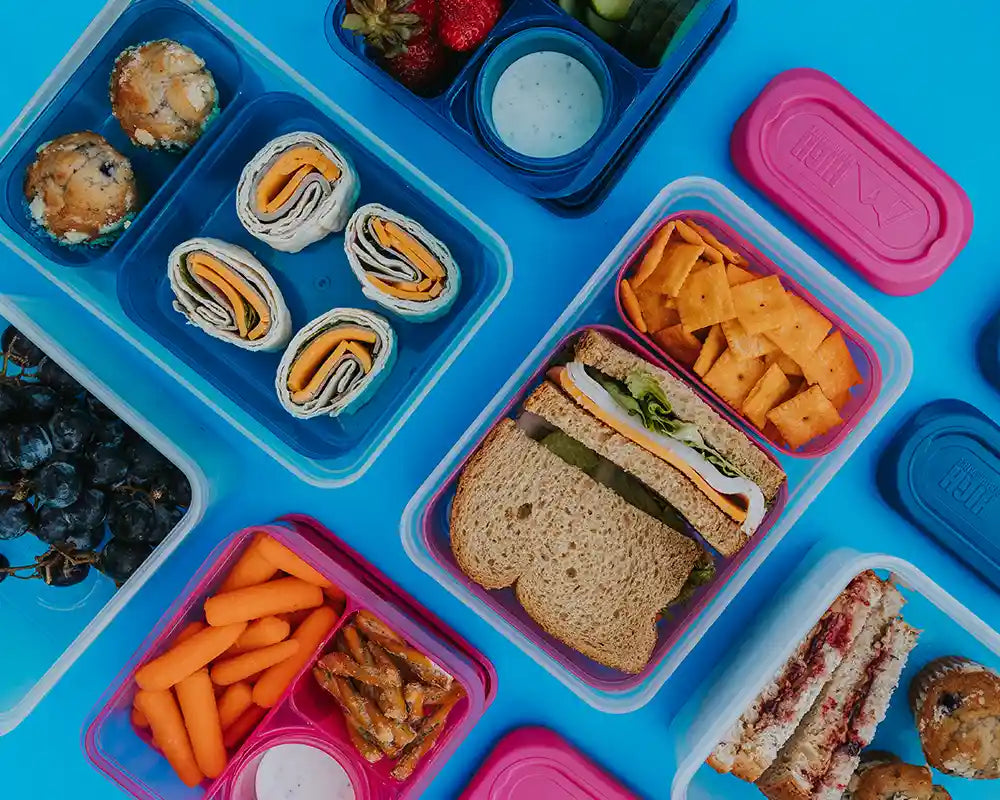
- Plastic Food Containers: Use high quality, waterproof and leak proof food storage containers. For liquids, consider containers with screw tops that prevent leakage. Stackable container sets in a few sizes will save space and make organization easier.
- Plastic Bags: These should be freezer grade and have double zippers to create airtight seals and prevent leakage.
- Wire Baskets/Bins: Great for protecting delicate or soft food, baskets and bins can also be used to group foods by type (e.g., dairy, vegies) or function (e.g., all items needed to prepare a sandwich). If you're looking for a cooler that comes equipped with a wire basket, we recommend checking out our Titan 55Q Hard Cooler.
- Waterproof Appliances Thermometer: Keep this in the cooler during the trip to let you know when it’s time for a chilling boost with more ice.
- Sharpie Marker and Masking Tape: Use to mark containers and bags to make retrieval faster.
Prepare Cooler Contents
One day before your trip, prepare your cooler and the items that go into it.
- Clean the Cooler: Whether you’re taking a new cooler out of its packaging or retrieving one you own from the garage (where the heat can be a breeding ground for bacteria), give the cooler a good wash with warm soapy water, then dry thoroughly.
-
Prep Food:
- Preserve Space: Remove as much packaging as possible to reduce the bulk and weight of the cooler. Pre-chop vegetables. Portion out food you need, such as putting condiments into smaller containers rather than bringing big, heavy jars.
- Waterproof Everything: Remember that everything in the cooler is going to get wet when the ice melts. The wet water might mingle with other liquids such as juice from defrosted meat that leaked. This is why it’s important to waterproof everything and make sure food, especially perishables are wrapped tightly. Use screw-top containers for anything liquid. Label containers and bags with a Sharpie marker so you can identify the item quickly.

-
Chill Everything.
- Freeze Everything that’s Freezable. Chicken, steak, seafood (unless it’s going to be used on the first day of the trip), and even dairy products like milk and eggs can be frozen. Water and other non-carbonated drinks can also be frozen and thawed out as needed. Ice Blocks, Packs and Sheets should be frozen as well. Turn your freezer down so the thermometer reads -20° to give your items the deepest chill.
- Refrigerate the Rest. All other food and containers, even those not yet filled, should be refrigerated. Nothing should be at room temperature when it goes into the cooler.
- Prepare Ice Cubes and Crushed Ice: Make or purchase ice cubes and crushed ice.
- Chill the Cooler Too: If it won’t fit into your fridge, fill the cooler with ice and cold water that you pour out right before packing it up.
- Write a Brief Meal Plan: Include a list of ingredients so you can organize in terms of what you need to access first.
Departure Day: Let the Packing Begin
The art of packing your cooler like a pro is all in the layering.
- Begin with a layer of block ice or frozen ice packs to cover the bottom of the cooler.
- Since cold air sinks, arrange perishables like meat, seafood and dairy products at the bottom for maximum cooling. Cover with a layer of ice, then alternate layers of ice with food items, filling air pockets at each layer with crushed or cubed ice.
- Layer food in the opposite order that you plan to use it, starting with the last day’s food. Pack one section per meal. The exception to this is soft or delicate foods that can get squashed. Pack these on the top, possibly in bins or baskets that will protect them. Another exception is when you use stackable containers that are ideal to hold premixed dishes like egg salad or home-made sauce.
- If you’re using a large cooler, as you pack, create a cooler map so you can retrieve food quickly when you need it.
- When the cooler is filled to the top with food, drinks and ice, lay the ice sheet like a blanket on top of it. If you don’t have one, reusable ice packs are a good alternative. You can also use a damp towel folded to fit the top dimensions of the cooler.
Maintain Cooler Coldness Throughout Your Journey
The packing tips presented above will ensure that you start your trip with the best system for keeping food and drinks cold for the longest amount of time. Here are additional suggestions to keep your cooler at its coldest temperature during your trip.
- Keep the Cooler in the Shade.
- Wrap the Cooler: Cover the cooler with a light-colored blanket or towel. If it’s really hot, consider wetting the towel to create evaporative cooling, which will help preserve the ice longer. You can also wrap the cooler in a sleeping bag when not using it to give it a boost of insulation.
- Retrieve Items Quickly. This minimizes the amount of warm air that gets into your cooler when opened.
- Keep the Cooler Closed: This minimizes the amount of cold air that leaks out and warm air that seeps in.
- Regularly Monitor the Cooler’s Temperature. Keep the appliance thermometer in the cooler and check it periodically. The Department of Agriculture says that bacteria grows on food when the temperature is between 41-140°F so keep the cooler at or close to 40°F without going over. Add ice you purchase during your trip, if needed, to maintain this temperature.
We hope these tips enhance the enjoyment of your trip. If you have others, please share them here. Happy trails!